
Finally found a bit of time to help my neighbor with her over-abundance of hens and chicks she planted a couple years ago. She’s been going through a rough patch and my ministry of help has been readily welcomed. I’m glad to help howsoever I can. She just had bladder cancer surgery on Monday. By the time I finished replanting the exterior circle of her succulents at my house and went back out with my dog she had received a call that her sister had just passed away from leukemia. Not been a great day for her.
This is what I had left over after filling my planter at home:
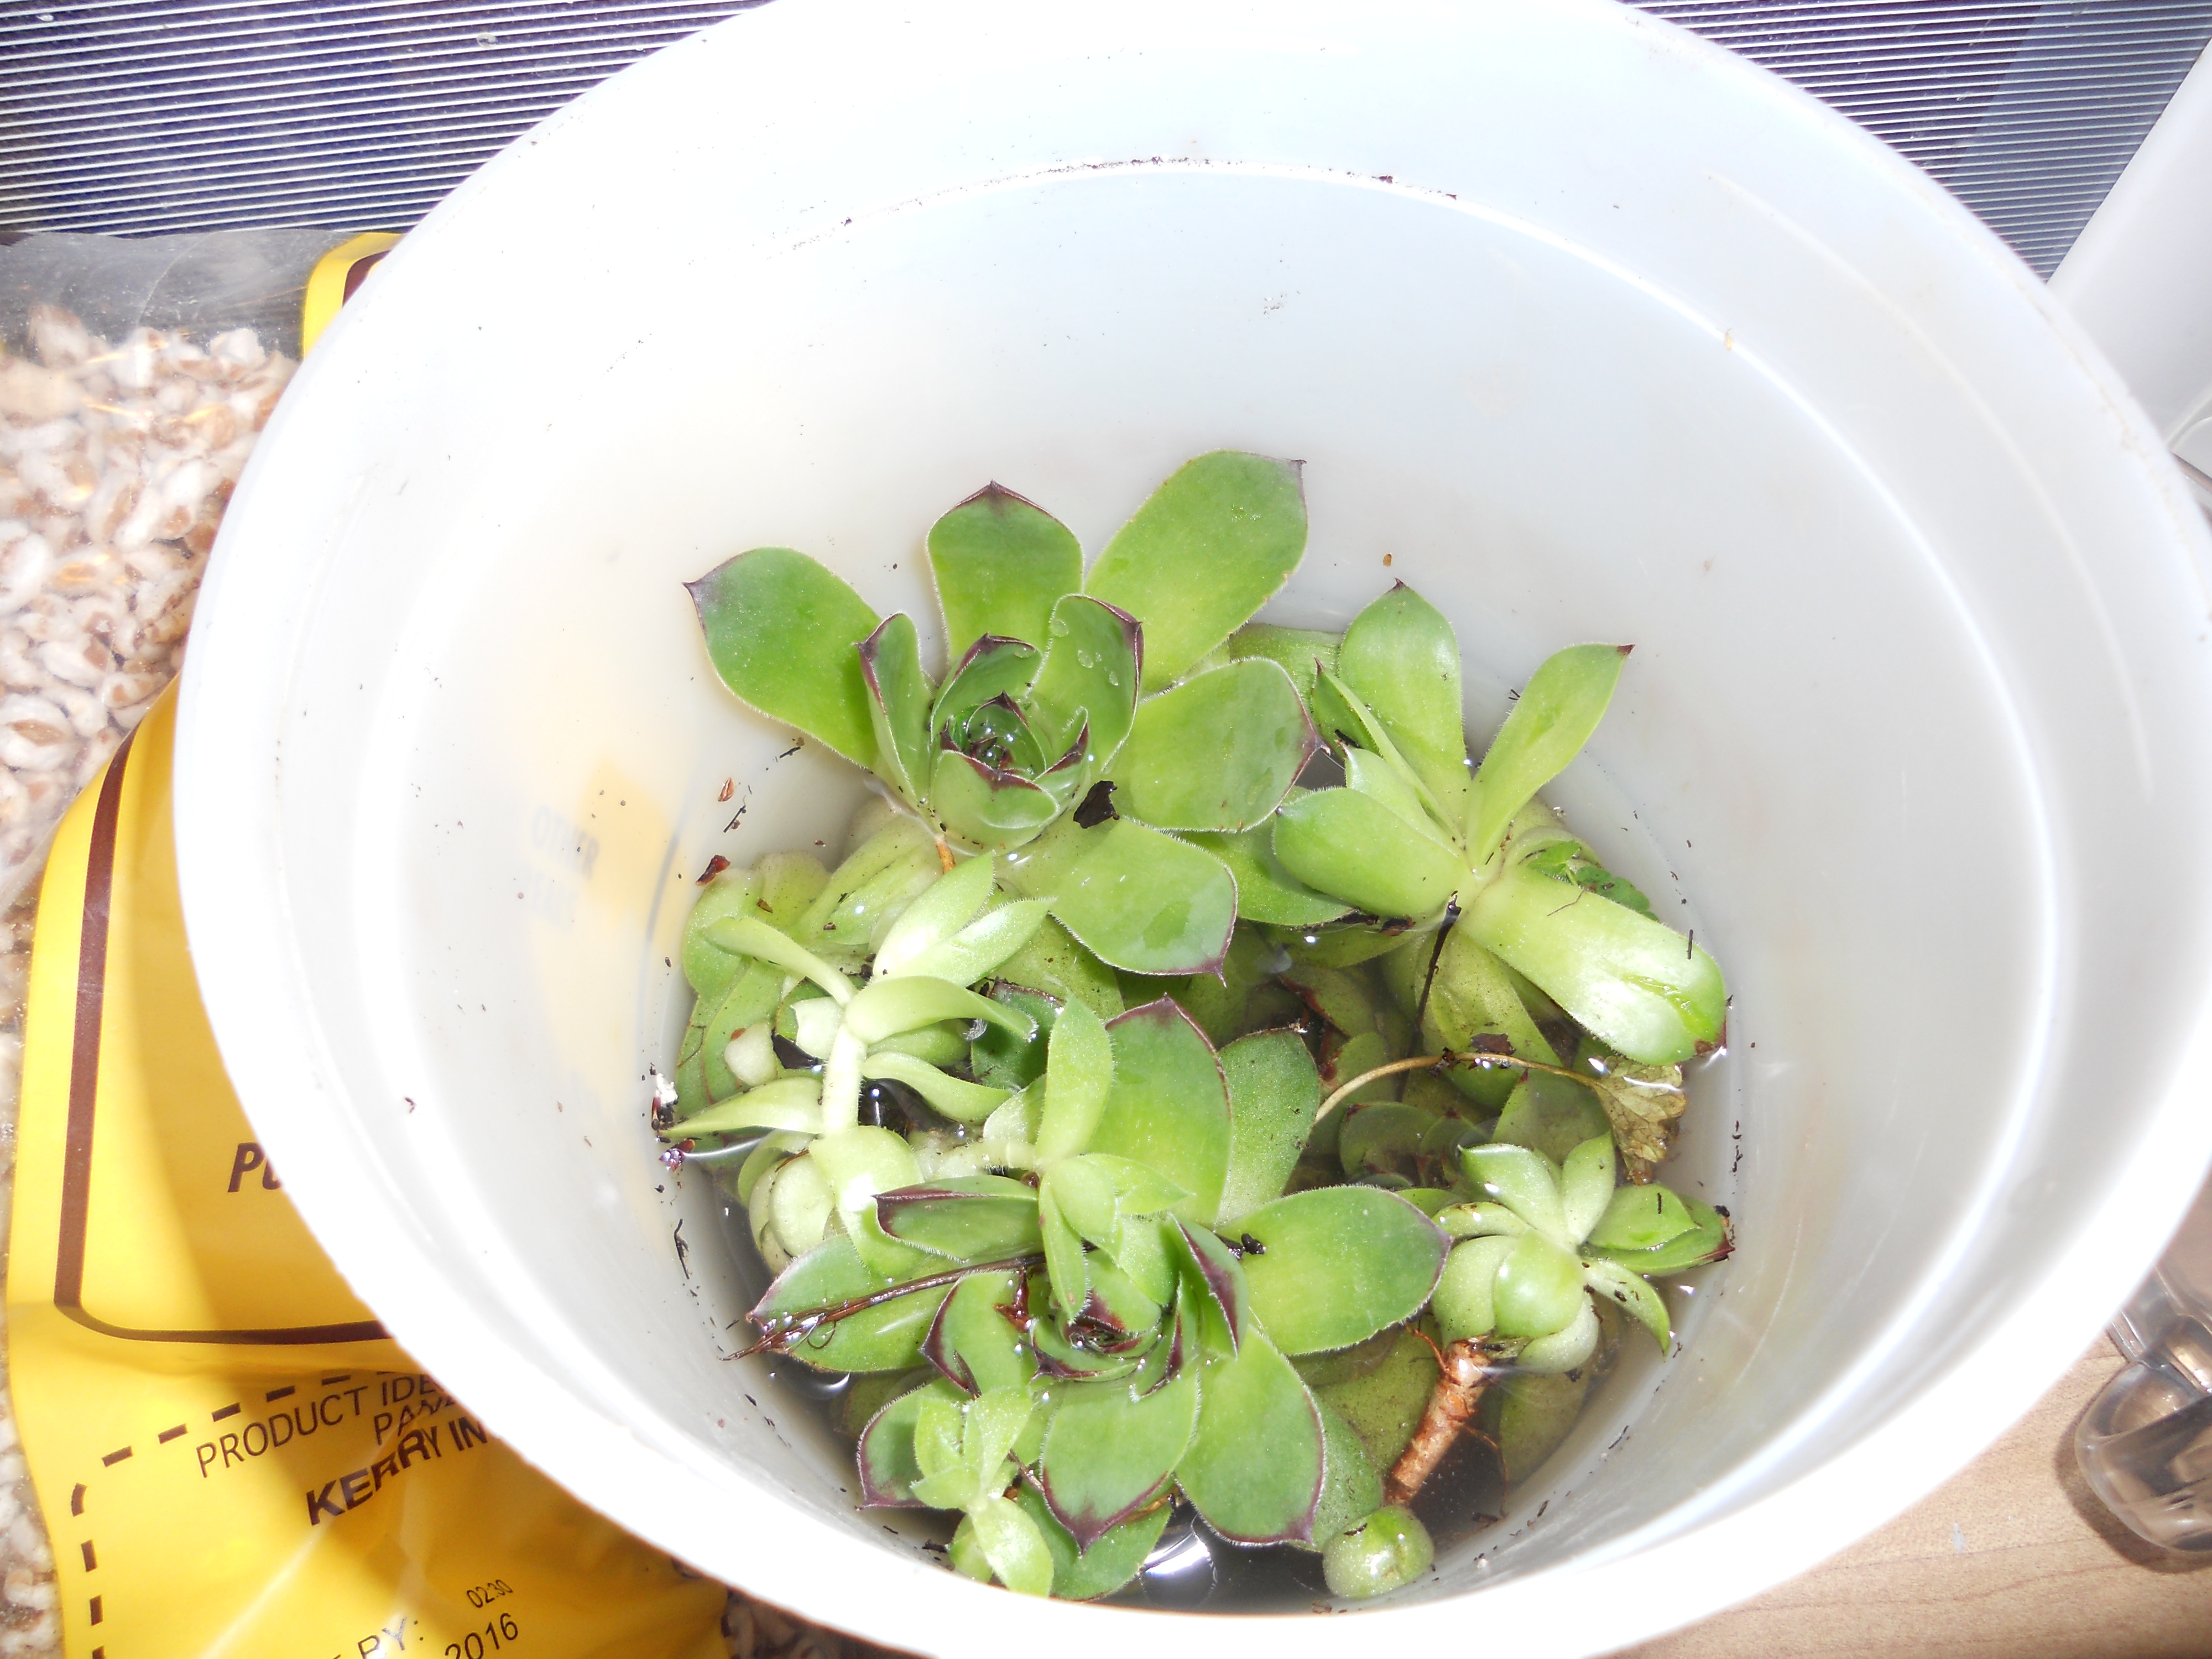
still more growing in the pot!
Here’s what I planted in my own container:
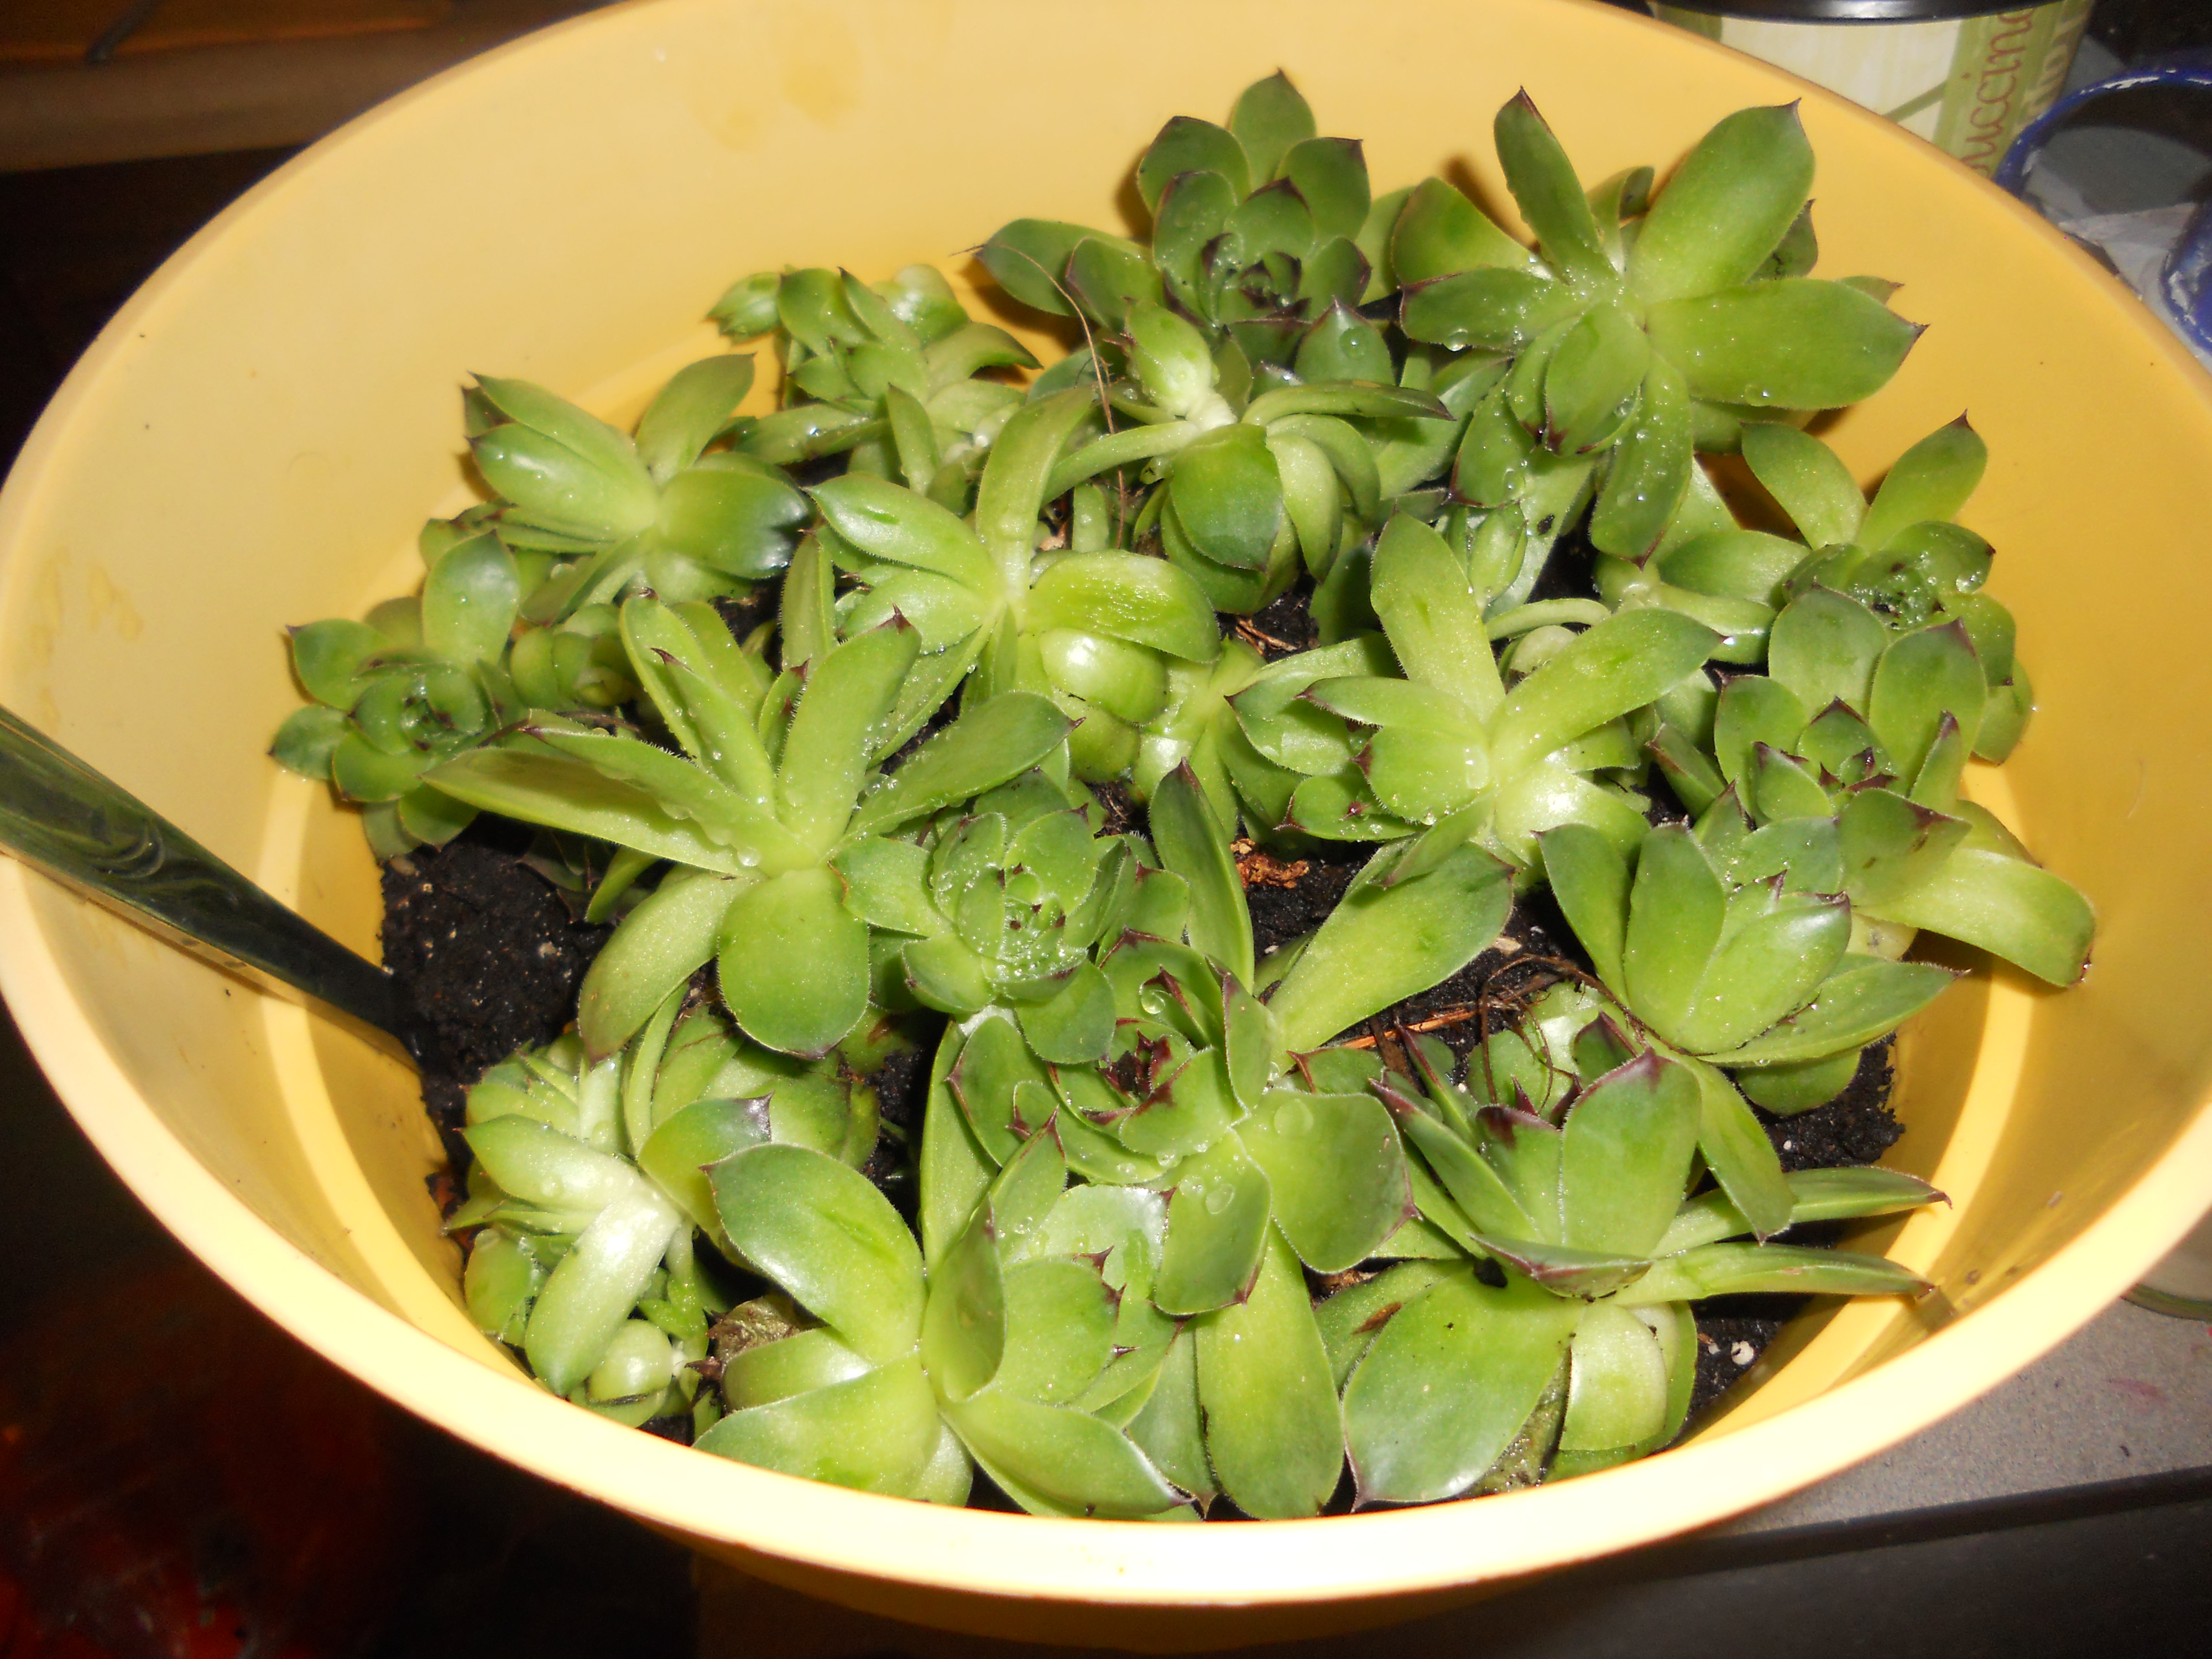
My pot runneth over.
It’s rather full isn’t it? I have to leave enough room for them to settle a bit. They were getting all scraggly in her outdoors man-made planter area. But what to do with the leftovers in that white bucket? It’s a half gallon food service bucket by the way. Come in handy for a great many things! Just one of my wonderful finds at the recycle/dump center. Yay! I’m always finding great stuff there!
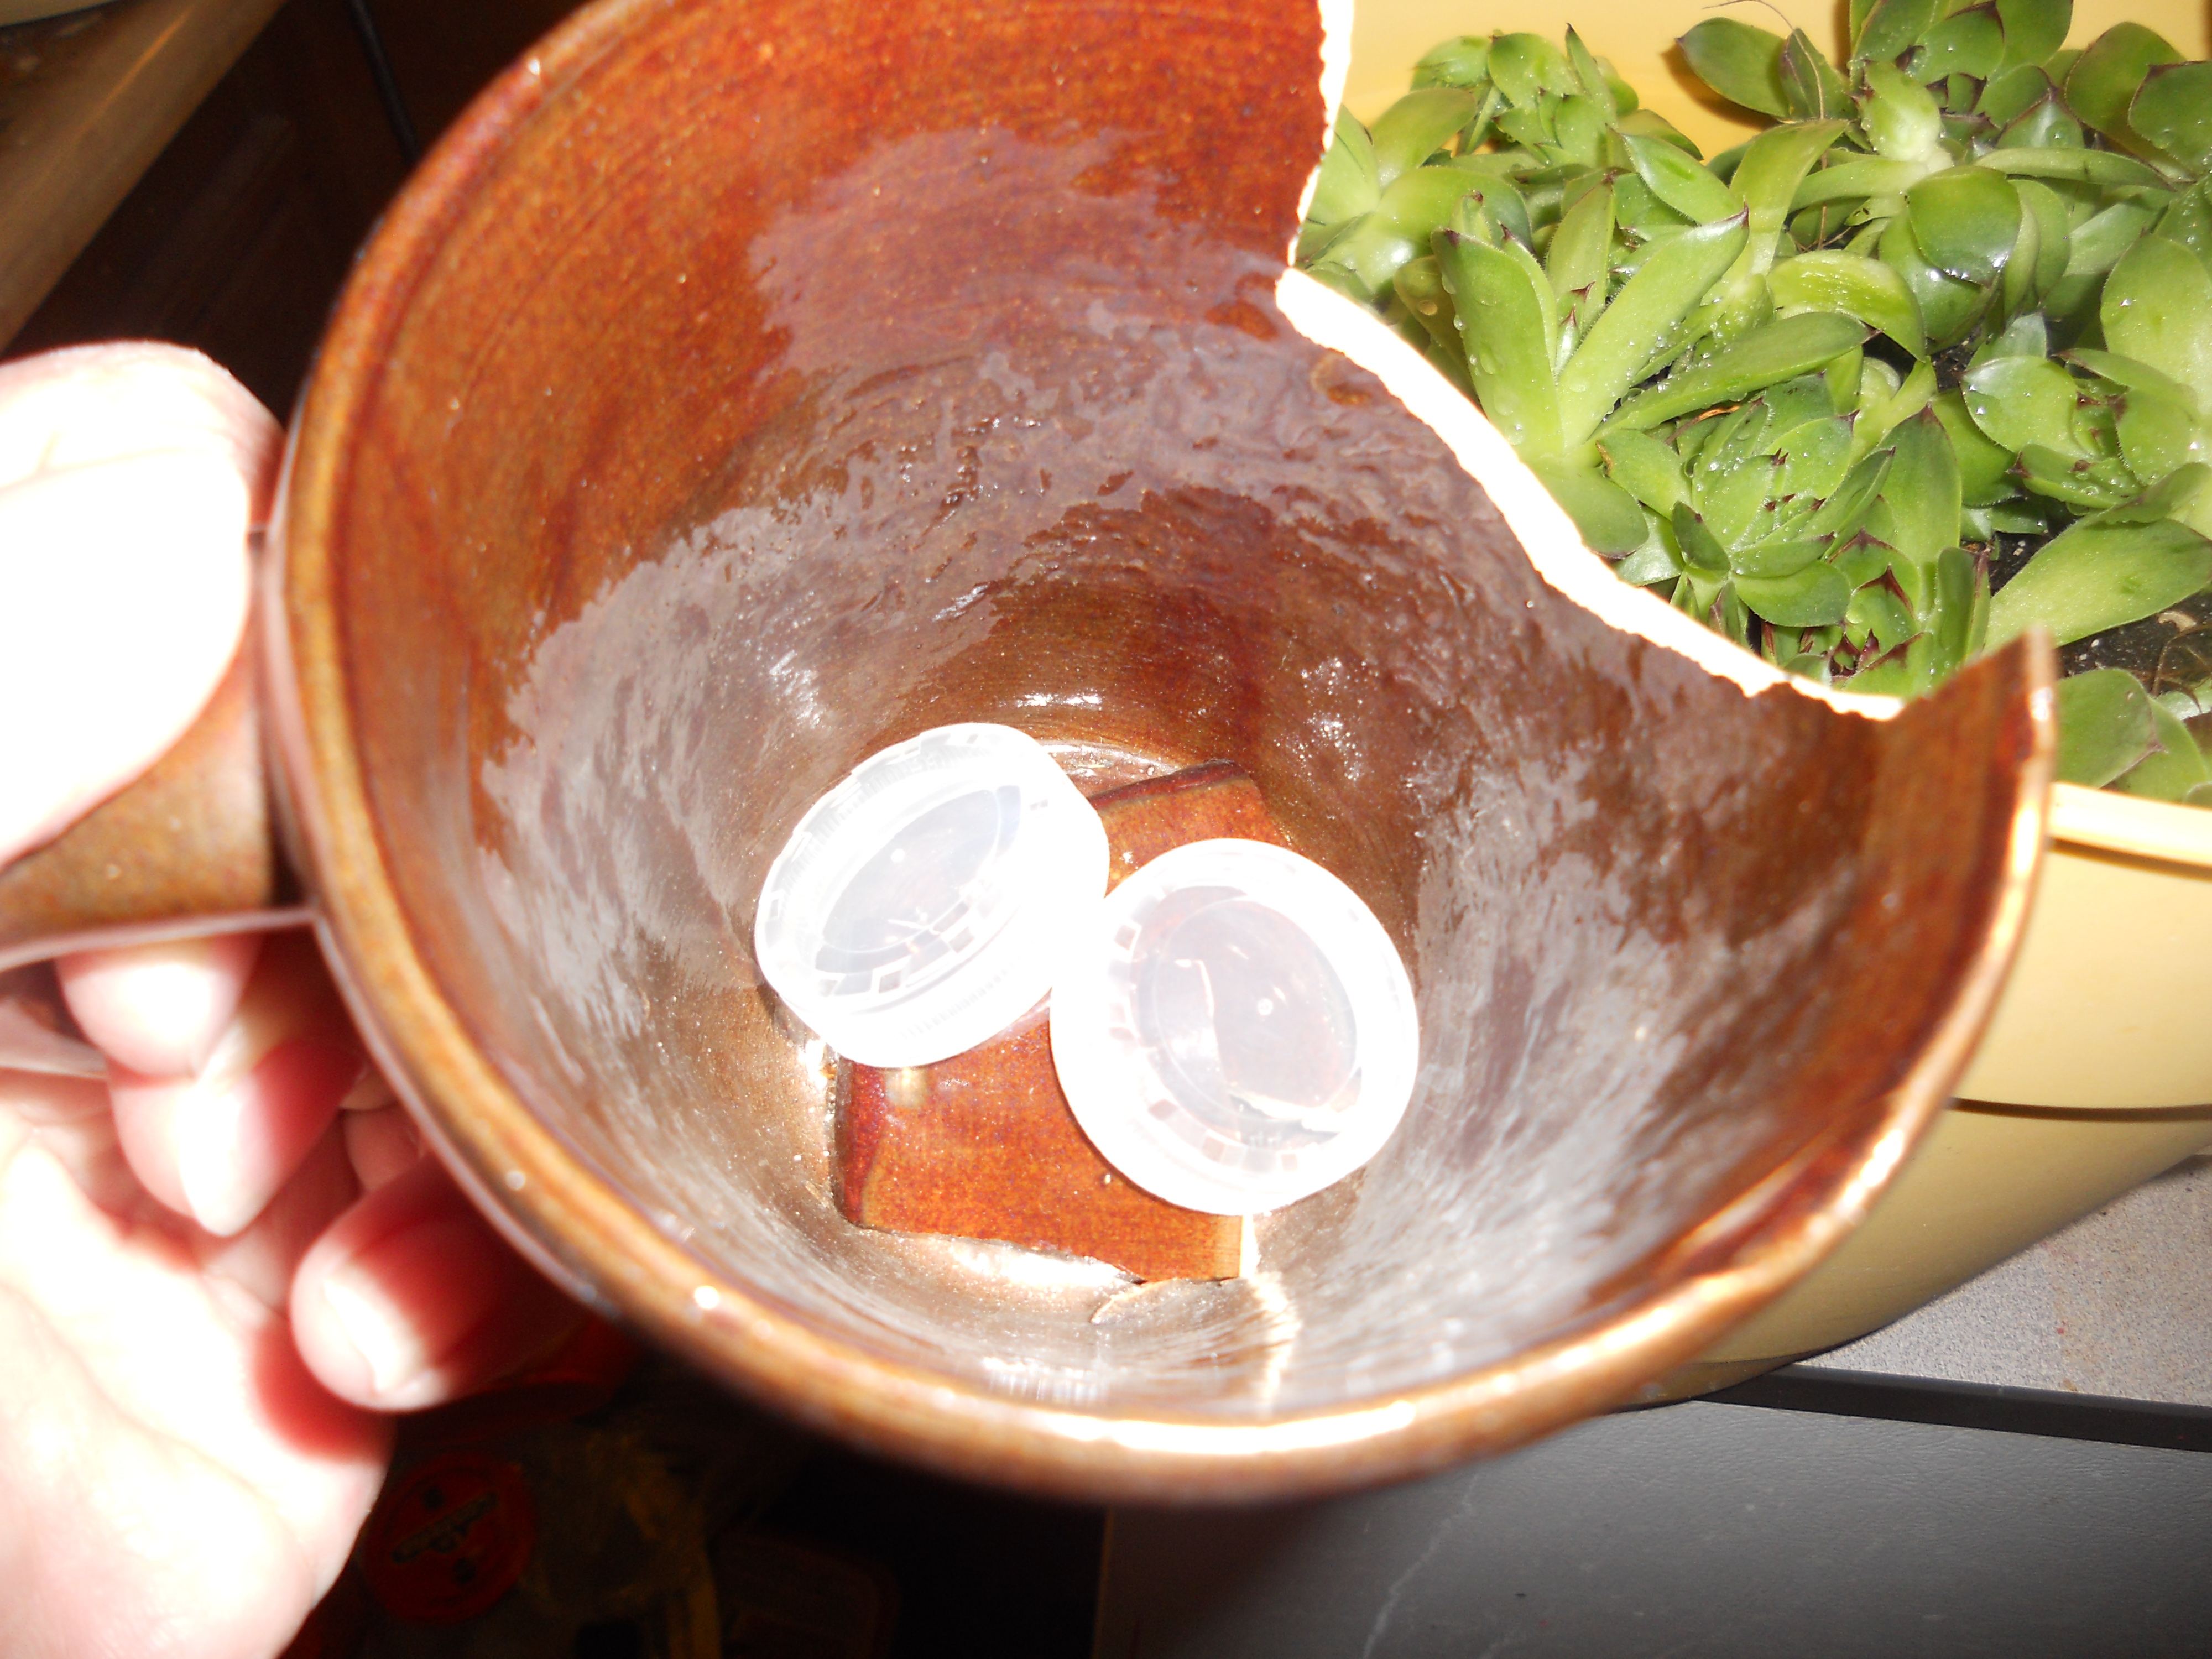
Broken cups still have a great use for planters!
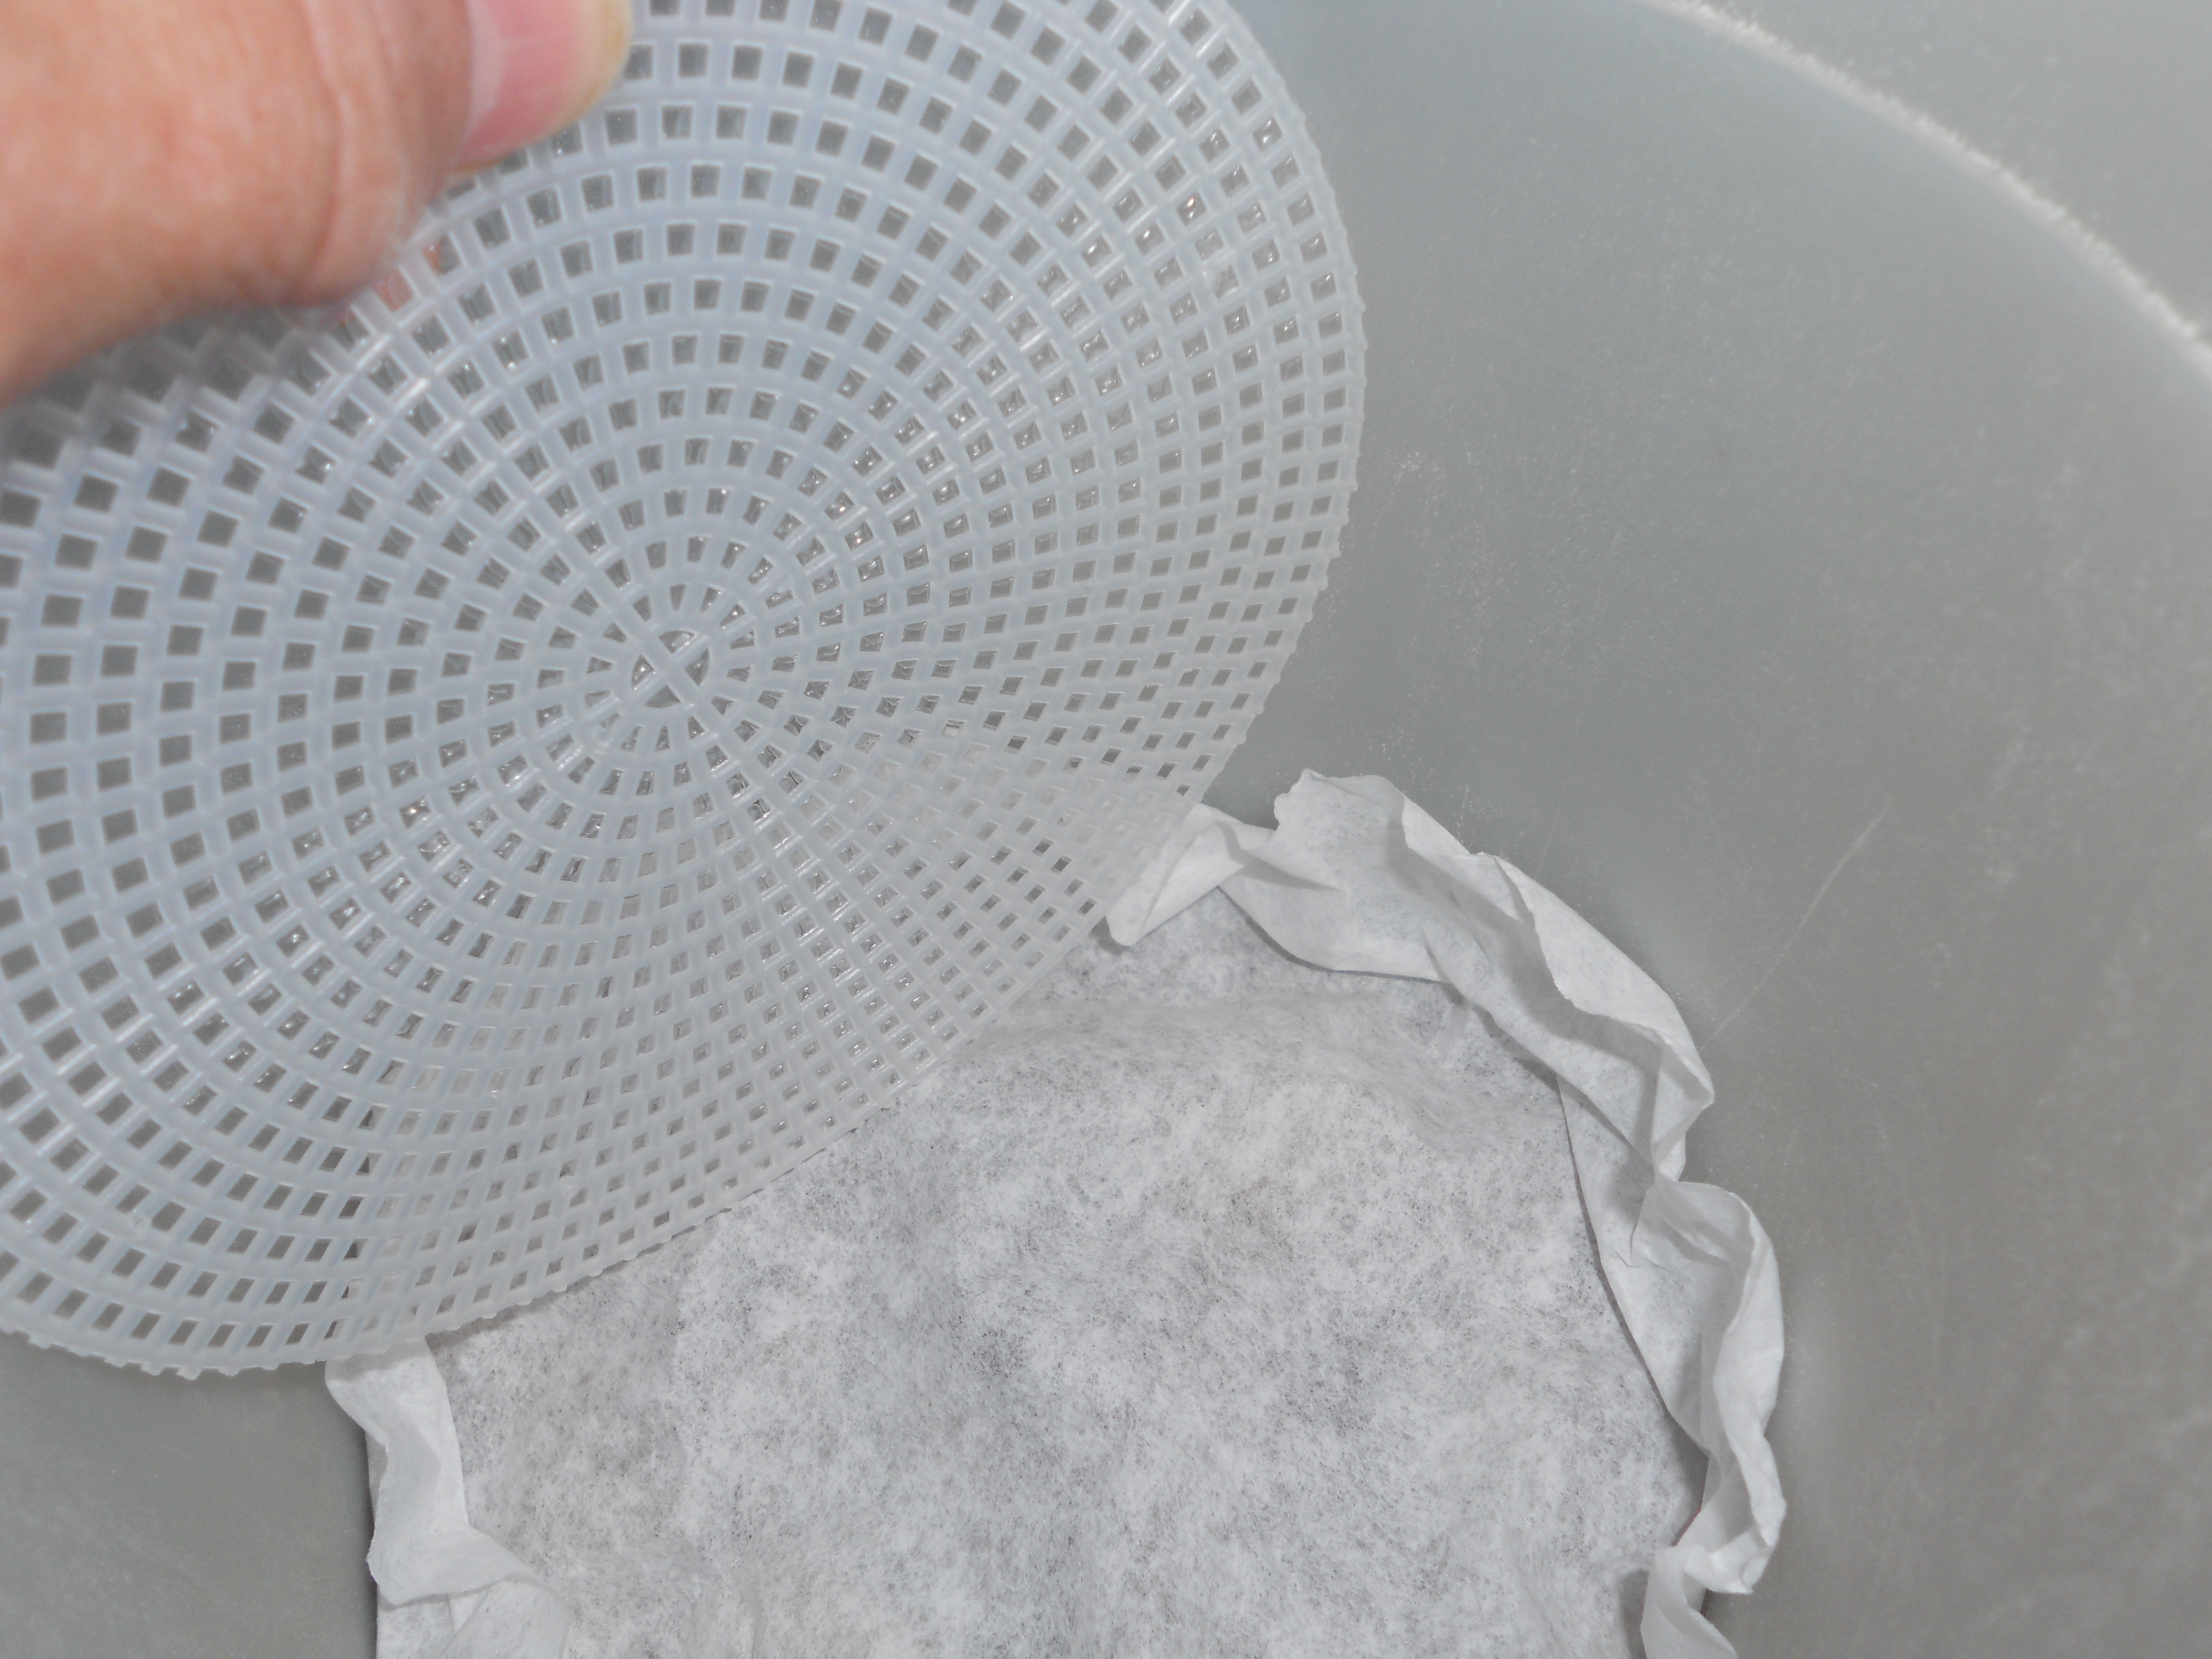
This broken cup I couldn’t pass up out of a dumpster recently. There had been a set of four. One was chipped on the rim and this one had a half side broken. Perfect for little planters! I decided to add the broken off pieces to the bottom for drainage. And since I couldn’t readily get to my usual handful of rocks from my collection I decided to use a couple of my empty medicine bottle lids. Those things like never break down in a landfill anyways! Then I added a pretty cupcake liner since a coffee filter is obviously too big and I didn’t want to waste a good filter for my coffee. (wink, wink). I suppose a person could also use a knitting needle, a crochet hook, a pencil, an ink pen, a drinking straw, a pair of inexpensive scissors (NOT children’s!), a specific length of coat hanger wire from a shop that uses a uniform service ie a service station. Most of those places are throwing away those coat hangers anyhow. I find them in the dumpsters all the time. I’m sure you can come up with even more ideas for poking stem holes than what I’ve been able to list here.

shove the cupcake liner in really good around the lids, rocks, marble….whatever you decide to use for drainage.
I then proceed to add the pitiful leftovers of my potting soil from last year. I probably should have long since thrown that out but I do so tend to hoard forever what I think I will need someday. Just so happens I’ve needed this a couple of times now! And since the cup is broken on one side I decided to bank the dirt to one side for appearance.

Bank the dirt to one side. I should have wetted it all down first!
After wetting it down I have to admit I lost a bit of the dirt. Not enough to make a difference. It would have been best if I had worked with wet dirt to begin with. Then I grabbed one of my long handled paint brushes laying close by to help poke holes for the long stems/roots of my hens and chicks. You can also use a chopstick, a stick from the yard, a knife handle (dull knife please!) or the handle from a plastic fork, knife, spoon, or that odd spork in the back of the junk drawer. (Grin!)

best rule of thumb is to use what I have on hand…thus the paintbrush to poke stem holes!
I started by adding the straggling smaller chicks to the lower edge and letting them hang over a bit. I had to pack them in tighter. Then I started adding some bigger hens with more pronounced roots. Had to get a bit creative and shove the holes at an angle to get the stems to go in the direction that was correct for the tilt of the head. Then I filled in with a couple of medium sizes and a larger one at the back.

How’s this for a cup of hangover?
I know all of the plants will settle a bit after sitting for a while. That’s what is so nice about succulents. They are very forgiving! This little cup full of loving went to live with my oldest Daughter at Mosey Cottage. But look at what I STILL have yet to plant!

Still have to plant with another bucketful to come!
I am definitely going to need a bigger planter! I wonder if I can make a living wreath for my door with these? Hmmmm……how to keep it damp? I live in an interior apartment building. Spritz it daily? Soak it once a week? Any ideas?
Until next time I assure you I’m still living life….only my “whole” seems to be getting a wee bit tight now days!
Bonnie aka Peabutton’s Mom


You must be logged in to post a comment.