Howdy ya’ll! As usual I have been quite busy taking pix, working on my art and crochet, and babysitting my beautiful granddaughter. She recently turned a year old! What’s that got to do with the title, you ask? Oh, just about everything! You see, I always had prayed for a house from my late husband. Well, since his passing, my daughter and her little family decided to use some of the monies to buy me a house! There’s a story here too but it needs to wait for another time….
Mosey Cottage. A name to memorialize my late husband whose nickname was Moe. A name to depict the house. A house for an artist. A house that’s only a “mosey” away from the granddaughter. No “over the river and through the woods” here!

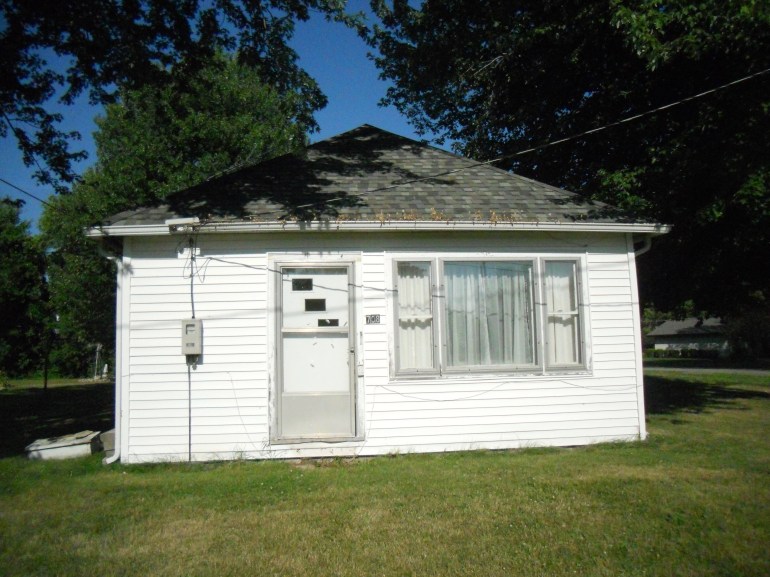
Doesn’t look like much from the front. My son in law had mowed and consequently moved the step off to the side. This is what’s called a “shot gun” house. Narrow and long. Each room is as wide as the house and follows the next in line. It has/had a garage with a breeze way between. Every bit of that is now part of the house.

As you can see, there is a LOT of work to be done. I am looking forward to getting started on the landscaping which doesn’t exist as of now. I did manage to plant my nearly dead irises next to a badly rusted clothesline pole. The other flowers are yellow lilies that are common here. Provided my son in law hasn’t mowed these I am praying they live.

I am not living here yet. The house had previously suffered a major water break. Hence the entire center of the house has mushy floors. Also, since the house was built circa 1940, it needs electrical updating.
Would you like to see the inside? Or part of it? When the kids bought the house the contents were part of the bid. There’s a houseful of furniture, dishes, linens, and even toiletries and clothing! The lady had died in a nursing facility and the family just didn’t want the house or her things. Sad, really, both for the lady and for me. My kids aren’t allowing me to keeping anything!
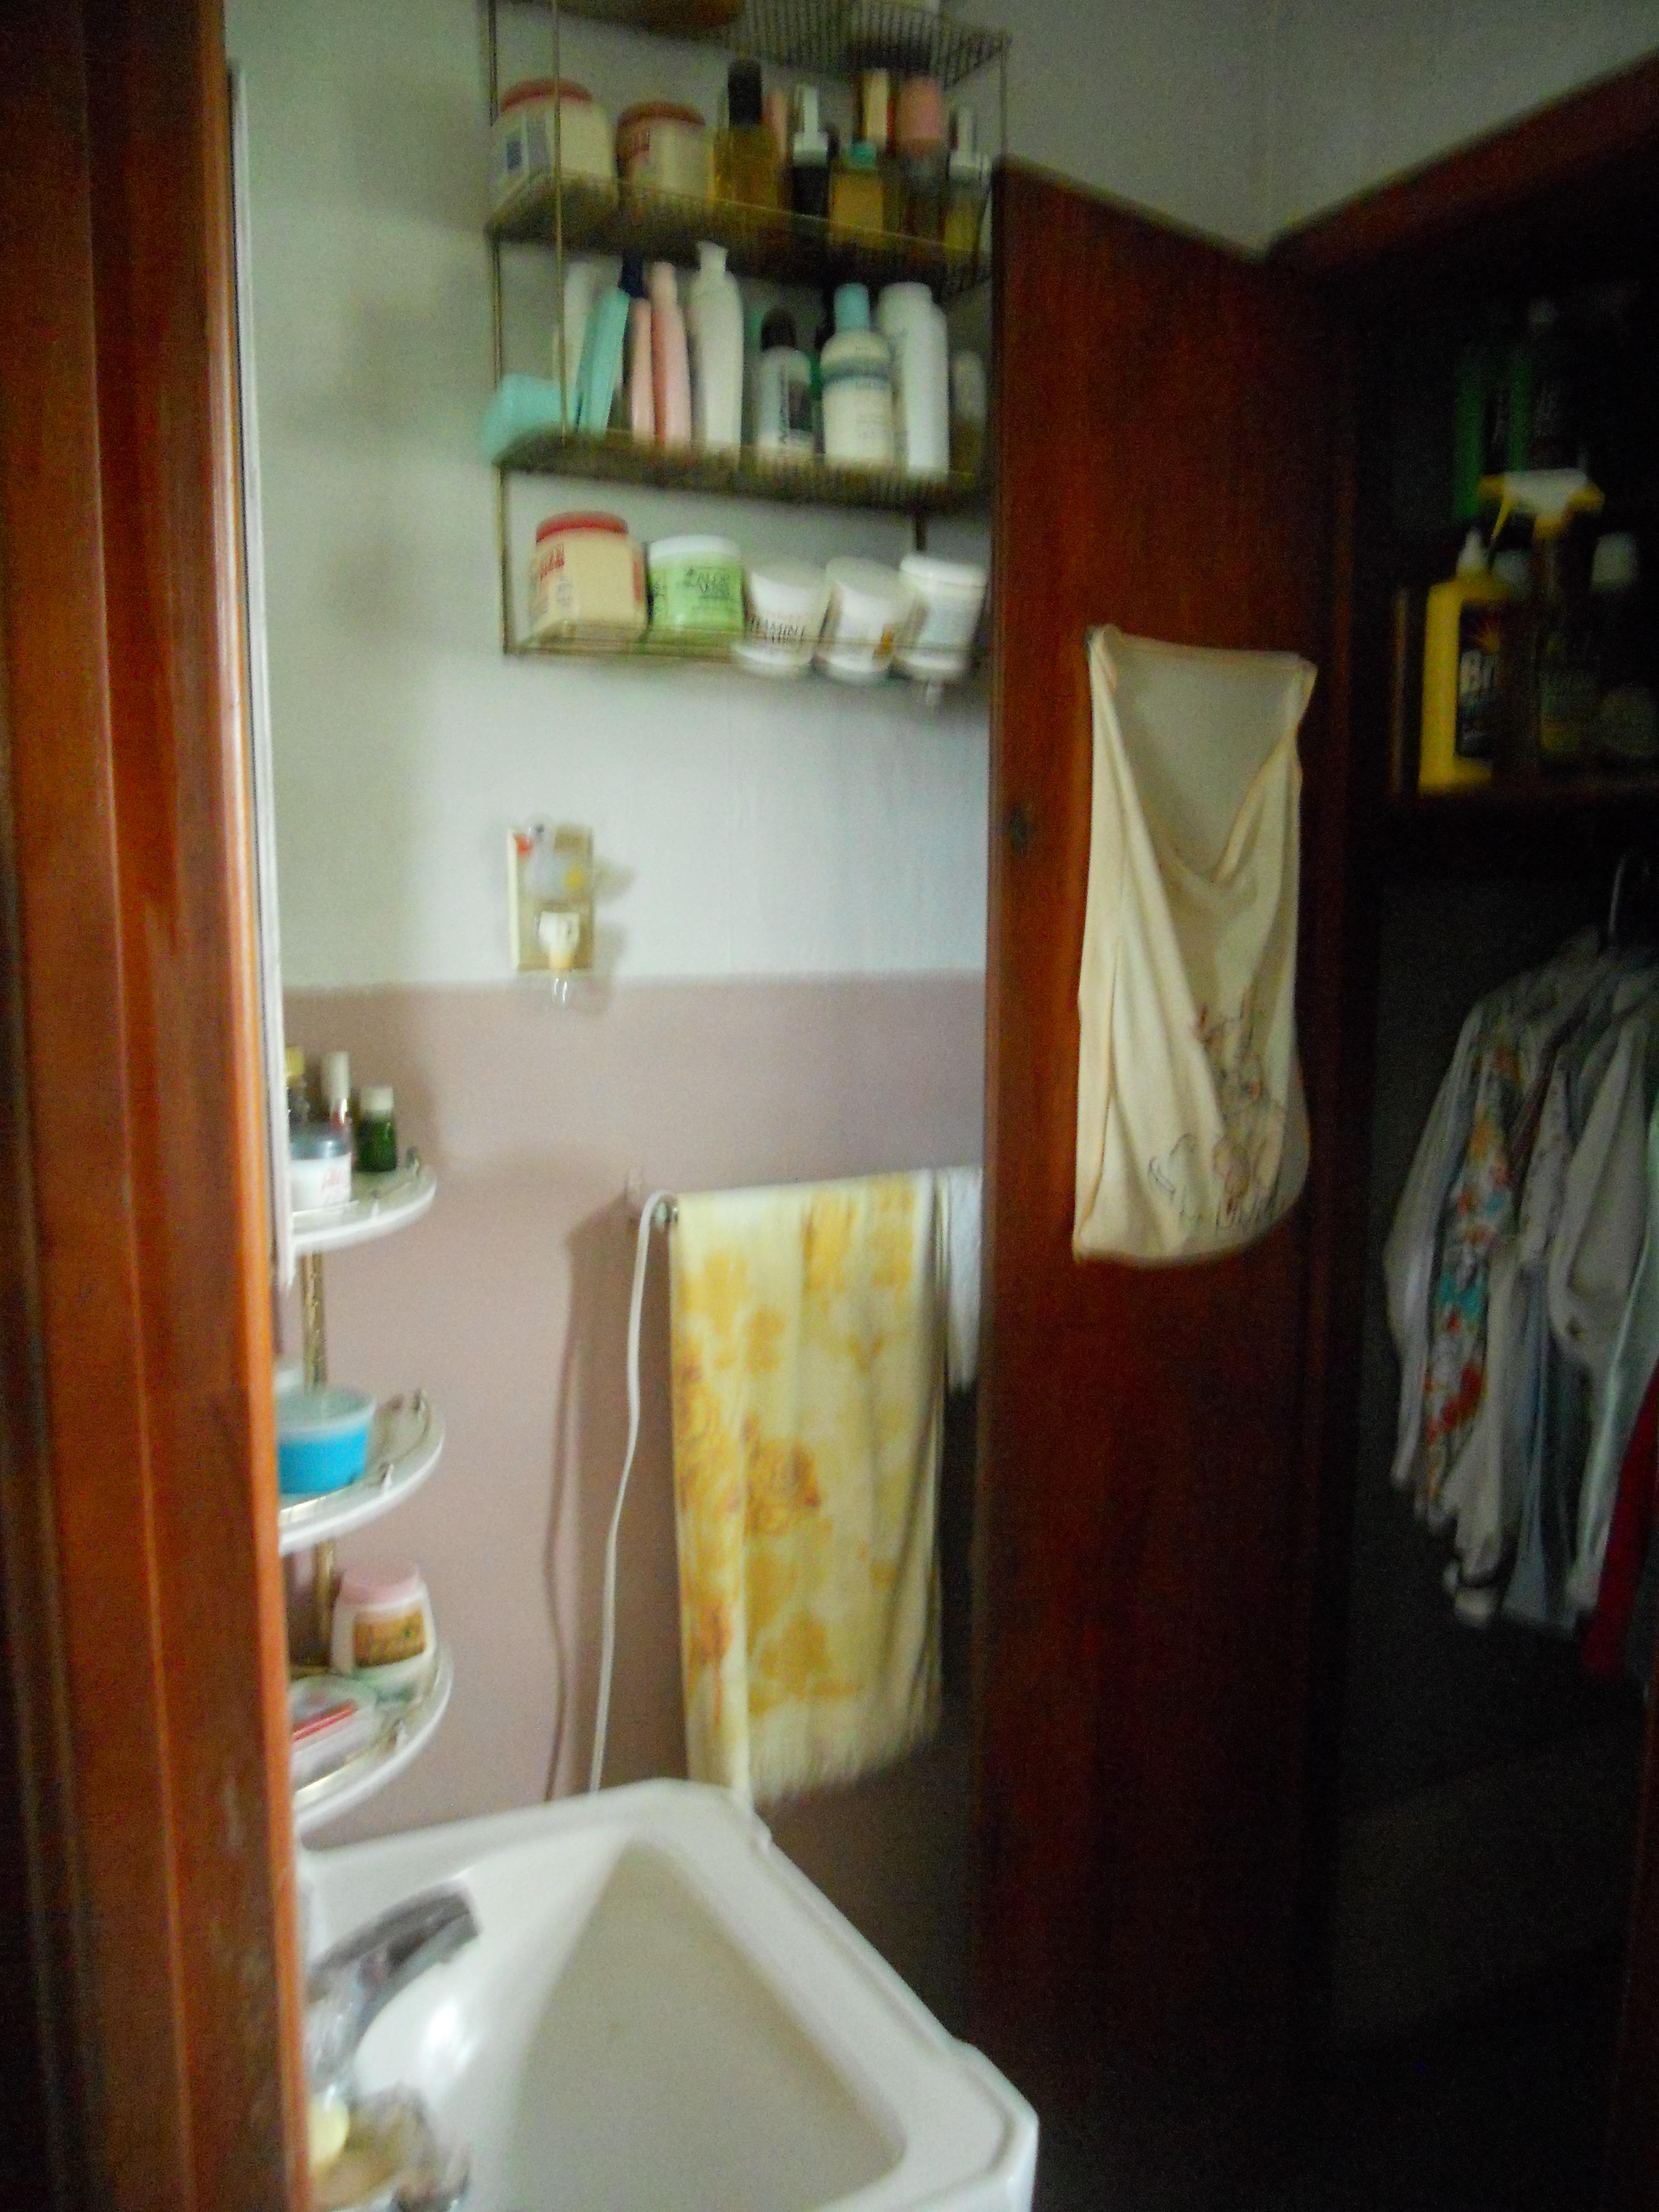
The bathroom was poorly planned. No room for two people for sure! Kids tell me that they are going to update perhaps with a new tub. Definitely new plumbing!

Yep. Even the bathing stool and potty hat were left behind. GROSS!!!
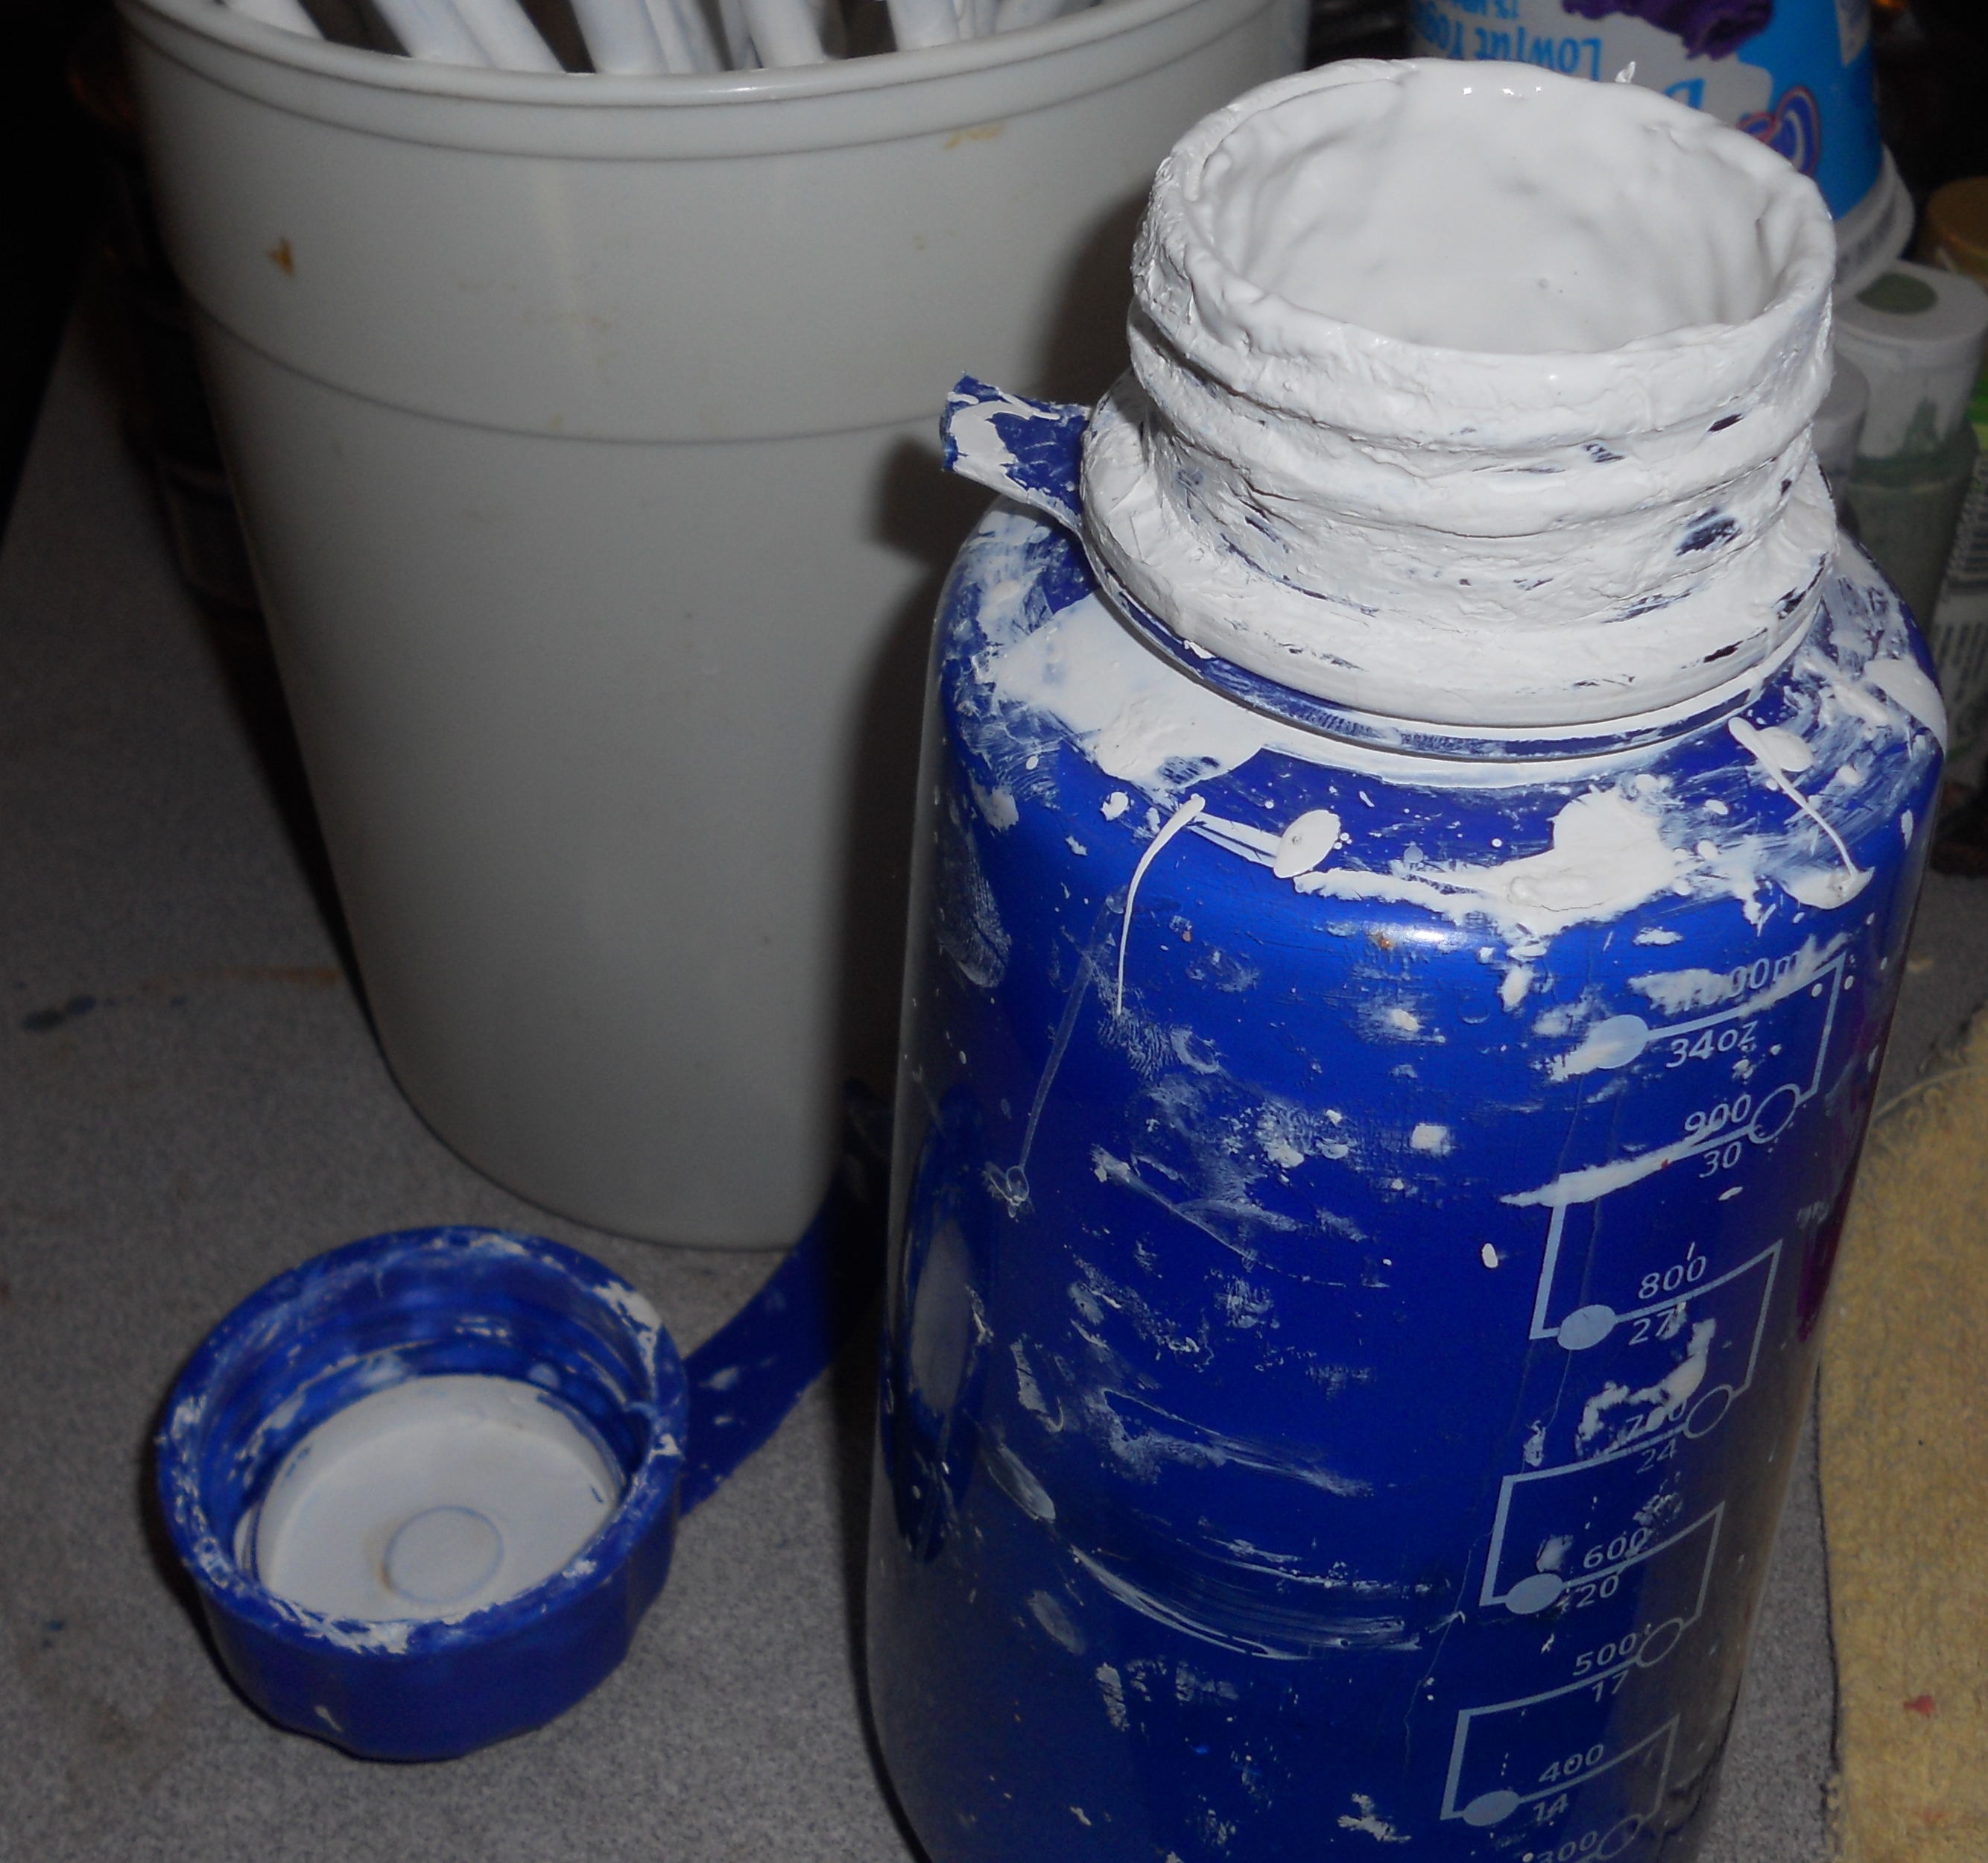
The place I plan to spend all my time is NOT in the bathroom! Haha! Since the garage is enclosed with both interior and exterior doors the kids say they are making me a dream come true! I get to FINALLY have my own crafting workshop/artist’ studio! I’m so excited! Especially since THIS is what it currently looks like:
 Of course, this is only a partial view. It only shows about half. Or perhaps a third. As you can see there’s a LOT of items left to sift through and sell. This picture is lighter than what the room really is because I had the outside door open. It’s actually much darker and depressing. Hopefully I can get a bigger window. I’ve got my fingers crossed!
And so Mosey Cottage starts with a hole. Not Whole yet. But I am soooo looking forward to sharing the progress with ya’ll!

Until next post I pray your life is wholly full of life and love and whimsy.
Enjoy!
Bonnie (aka Peabutton’s Mom)


You must be logged in to post a comment.